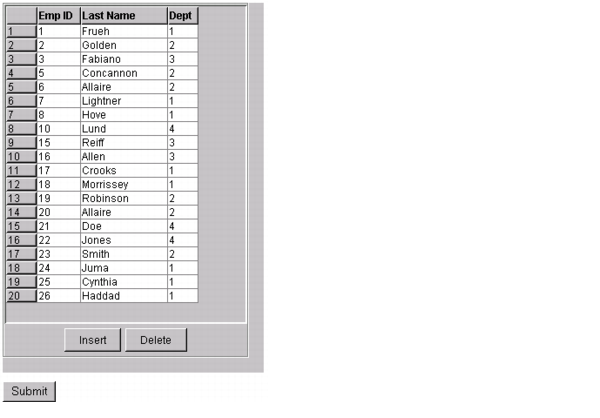
Example: editing data in a grid
The following example creates an editable grid. For code brevity, the example handles only three of the fields in the Employee table. A more realistic example would include, at a minimum, all seven table fields. It might also hide the contents of the Emp_ID column or display the Department name (from the Departmt table), instead of the Department ID.
The following sections describe how to write the handle_grid.cfm page to process user edits to the grid.
The following table describes the code and its function:
|
Code |
Description |
|---|---|
| <cfgrid name="employee_grid" height=425 width=300 vspace=10 selectmode="edit" query="empdata" insert="Yes" delete="Yes"> |
Populates a cfgrid control with data from the empdata query. Selecting a grid cell enables you to edit it. You can insert and delete rows. The grid is 425 X 300 pixels and has 10 pixels of space above and below it. |
| <cfgridcolumn name="Emp_ID" header="Emp ID" width=50 headeralign="center" headerbold="Yes" select="No"> |
Creates a 50-pixel wide column for the data in the Emp_ID column of the data source. Centers a header named Emp ID and makes it bold. Does not allow users to select fields in this column for editing. Since this field is the table's primary key, users should not be able to change it for existing records, and the DBMS should generate this field as an autoincrement value. |
| <cfgridcolumn name="LastName" header="Last Name" width=100 headeralign="center" headerbold="Yes"> |
Creates a 100-pixel wide column for the data in the LastName column of the data source. Centers a header named Last Name and makes it bold. |
| <cfgridcolumn name="Dept_ID" header="Dept" width=35 headeralign="center" headerbold="Yes"> </cfgrid> |
Creates a 35-pixel wide column for the data in the Dept_ID column of the data source. Centers a header named Dept and makes it bold. |


